
Making Sound Decisions
For most dramatic films, production sound is critical to the storytelling. It has been said that 70% of the film is the dialog sound. Getting good production dialog recorded can be very challenging especially when budget does not permit hiring the skilled talent that is needed. The world of recording dialog on a movie set is filled with many challenges, tips, tricks, and sometimes a little magic. Just like magic performed by a magician or cinematography directed by a DP, production sound requires special skills and tools to achieve the best performance. A lot of what is involved with recording production dialog just requires making some good decisions.
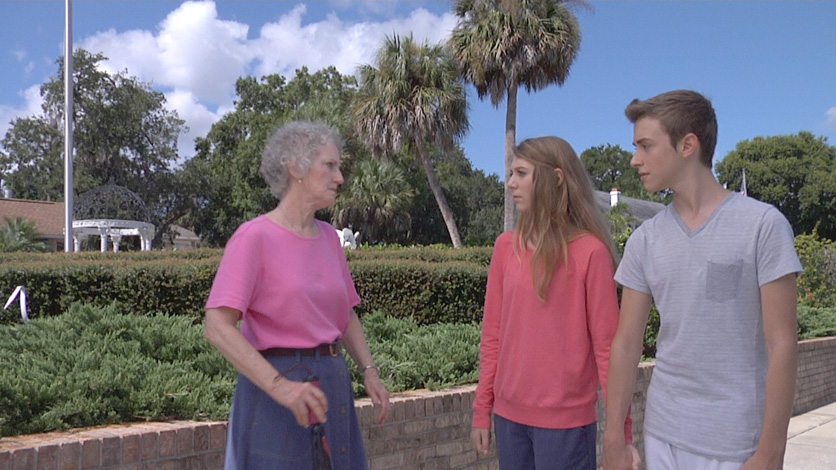
One of the key tips for getting great location sound is picking the right location. Often location selection is about the visual needs of the story. Rarely is the background sound or acoustics considered up front and the often classic response is let’s just ADR the dialog. The real magic of production sound begins by selecting a location that has suitable sounds and acoustics to get a clean recording. A location away from highways, airports, and construction goes a long ways to permit the actors performance to be the best. When possible, stopping or diverting traffic during a take adds tremendous production value. Constant interruption of takes because of traffic or other random sounds becomes very challenging for the actors to maintain focus. Sometimes just blocking the scene differently at the location can affect what is recorded. Moving from a tiled room to a carpeted room can change the recording significantly. Even moving 3-5ft in a room may change the sound. Listen carefully to how the ambient sound changes when re-positioning the mic.
Using 3 body mics because of high headroom in shot.
So often it is assumed that a boom mic is all that is necessary to record dialog. In many cases a microphone placed over the head of the actors is a good choice when that mic can be kept close to the actors. The key is getting the mic close to the actors. Placing the mic 3-4ft away because of visual headroom in the shot because of multiple cameras or other camera reasons needs a different solution. Sometimes it is using body mics or hidden mics on the set in combination with or without a boom mic. Sometimes it may take a more difficult solution that calls for reducing the headroom in the shots so that the boom mic can be placed closer to the actors. Whatever the choice may be it needs to support the storytelling with good highly intelligible dialog.
One of the most common mistakes made on set is that one boom mic works for all situations. The real secret is that different mics are needed for different situations. A mic with an interference tube (typical shotgun mic) can be great outdoors for focusing on the actors. However, that same mic used indoors (especially in a small room) can make the dialog sound hollow because of the way sound bouncing off the walls is processed by the mic. Instead, even a popular handheld mic could do a better job than a short shotgun mic. Trying different mics before production and listening to the recordings can reveal new opportunities. Occasionally, a less sensitive mic works better. For instance, recording dialog on board a flying helicopter (helicopter sound) with the doors open sometimes requires using a less sensitive wind screened handheld mic with the record levels set very low and the performer speaking louder. No ADR is necessary and the performance level remains where the director needs it to be. Remember that getting the mic as close as possible to the performers may require using different mics.
When getting clean dialog in a movie calls for using multiple body mics without a boom mic it is important that each mic is recorded to a separate track. In post production, those separate tracks must be edited so that only the mic on the speaking performer is active (heart of the matter scene 2) . Any attempt to leave all mics on or just lower the other mics can cause the dialog to sound hollow, distorted, or even garbled because of one voice being picked up by multiple mics. Yes, it takes a lot of work. In the end the dialog sound will support the story rather than disengage the listener because the dialog is difficult to understand.
When using multiple cameras it is highly recommended that dialog sound be sent from the mixer directly to each camera via radio or direct wired connection. This will not only allow syncing multiple track recordings to the picture but will also help to sync multiple cameras even when a clapboard is not used. In post listen to the audio recorded on 2 cameras at a time and slide one cameras video on the timeline until the echo is minimized. Repeat for each camera and for the multiple tracks of audio versus the first camera’s audio track. For those who want some automation for this process there is software available. Additionally, in film production use multiple cameras with similar framing rather than mixing wide shots with closeups so that the recorded sound has proper “perspective” for all cameras.
Last, it is highly recommended that sound always be recorded – even for MOS shots. There is a misconception that recording sound on non-dialogue scenes slows you down. That’s really not the case. It is best to record sound all of the time because it will provide ambient sound that can help sync cameras (even if the sound is not used in post) and bring ambient life to the shot. Do not talk over shots being recorded with no dialogue (such as car drive-bys) because the scene will then have to be foleyed.
Fixing sound “in post” needs to be replaced with fixing sound “on the set”. Better planning of locations, more awareness of what the mics hear (they pickup sounds differently than your ears) so you use the right mic for the right job, and better editing of the dialog are just a few ways to make more sound decisions.